


Waiting for your Windows 11 PC to boot can be frustrating, especially when you’re eager to start working or jump into a project. Slow startup times not only waste valuable minutes but can also disrupt your productivity and workflow. A fast startup means less downtime and a smoother computing experience.
If you’ve noticed your Windows 11 device taking longer than usual to boot, you’re not alone. Fortunately, there are practical and effective ways to diagnose and fix slow startup issues. This article will guide you through a comprehensive set of solutions—ranging from simple tweaks to advanced optimizations—to help you speed up your Windows 11 startup and get your system running efficiently again.
Understanding Windows 11 Slow Startup
Common Causes of Slow Startup
Several factors can contribute to a sluggish Windows 11 startup. Understanding these will help you pinpoint the root cause:
- Too Many Startup Programs: When multiple applications launch automatically during boot, they compete for system resources, causing delays. For example, having several chat apps, cloud sync tools, and antivirus programs all starting at once can slow down your boot time.
- Outdated Drivers: Device drivers act as translators between your hardware and Windows. Outdated or incompatible drivers can cause conflicts or delays during startup.
- System File Corruption: Critical Windows system files may become corrupted due to improper shutdowns, malware, or software conflicts, resulting in slower boot times.
- Hardware Limitations: Older hardware, especially traditional hard drives (HDDs) instead of solid-state drives (SSDs), limited RAM, or slower CPUs can bottleneck startup speed.
- Background Processes: Some background services or scheduled tasks may run during startup, consuming CPU and disk resources unnecessarily.
How Windows 11 Startup Process Works
Windows 11 uses a multi-stage startup process designed to balance speed and system readiness:
- Power-On Self Test (POST): Your PC’s firmware (BIOS/UEFI) performs hardware checks.
- Bootloader Activation: Windows Boot Manager loads the operating system kernel.
- Kernel Initialization: Core system components and drivers are loaded.
- User Session Initialization: User-specific services and startup programs launch.
Windows 11 features Fast Startup, a hybrid shutdown and boot technique that saves system state to a hibernation file, speeding up boot times. However, this feature can sometimes cause issues, especially if system files or drivers are outdated.
Understanding this process helps explain why certain issues—like corrupted system files or problematic startup apps—can slow your boot.
Basic Troubleshooting Steps
Disable Unnecessary Startup Programs
Many applications configure themselves to start automatically, but not all are essential. Disabling unnecessary startup programs can significantly reduce boot time.
How to Disable Startup Programs:
- Press
Ctrl + Shift + Escto open Task Manager. - Click the Startup tab.
- Review the list of programs and their Startup impact (Low, Medium, High).
- Right-click any non-essential programs and select Disable.
Tips:
- It’s safe to disable apps like cloud storage clients (e.g., OneDrive if not used), messaging apps, or software updaters.
- Avoid disabling antivirus or system-critical software.
- You can always re-enable programs if needed.
Update Windows and Device Drivers
Keeping Windows and drivers up to date ensures compatibility and fixes known bugs that may slow startup.
Updating Windows:
- Open Settings (
Win + I). - Navigate to Windows Update.
- Click Check for updates and install any available updates.
Updating Drivers:
- Press
Win + Xand select Device Manager. - Expand hardware categories and right-click devices (especially display adapters, network adapters, and storage controllers).
- Choose Update driver > Search automatically for drivers.
Alternatively, visit your PC manufacturer’s website for the latest drivers.
Run System File Checker (SFC) and DISM
Corrupted system files can cause slow startups. Windows provides built-in tools to detect and repair these files.
Running SFC:
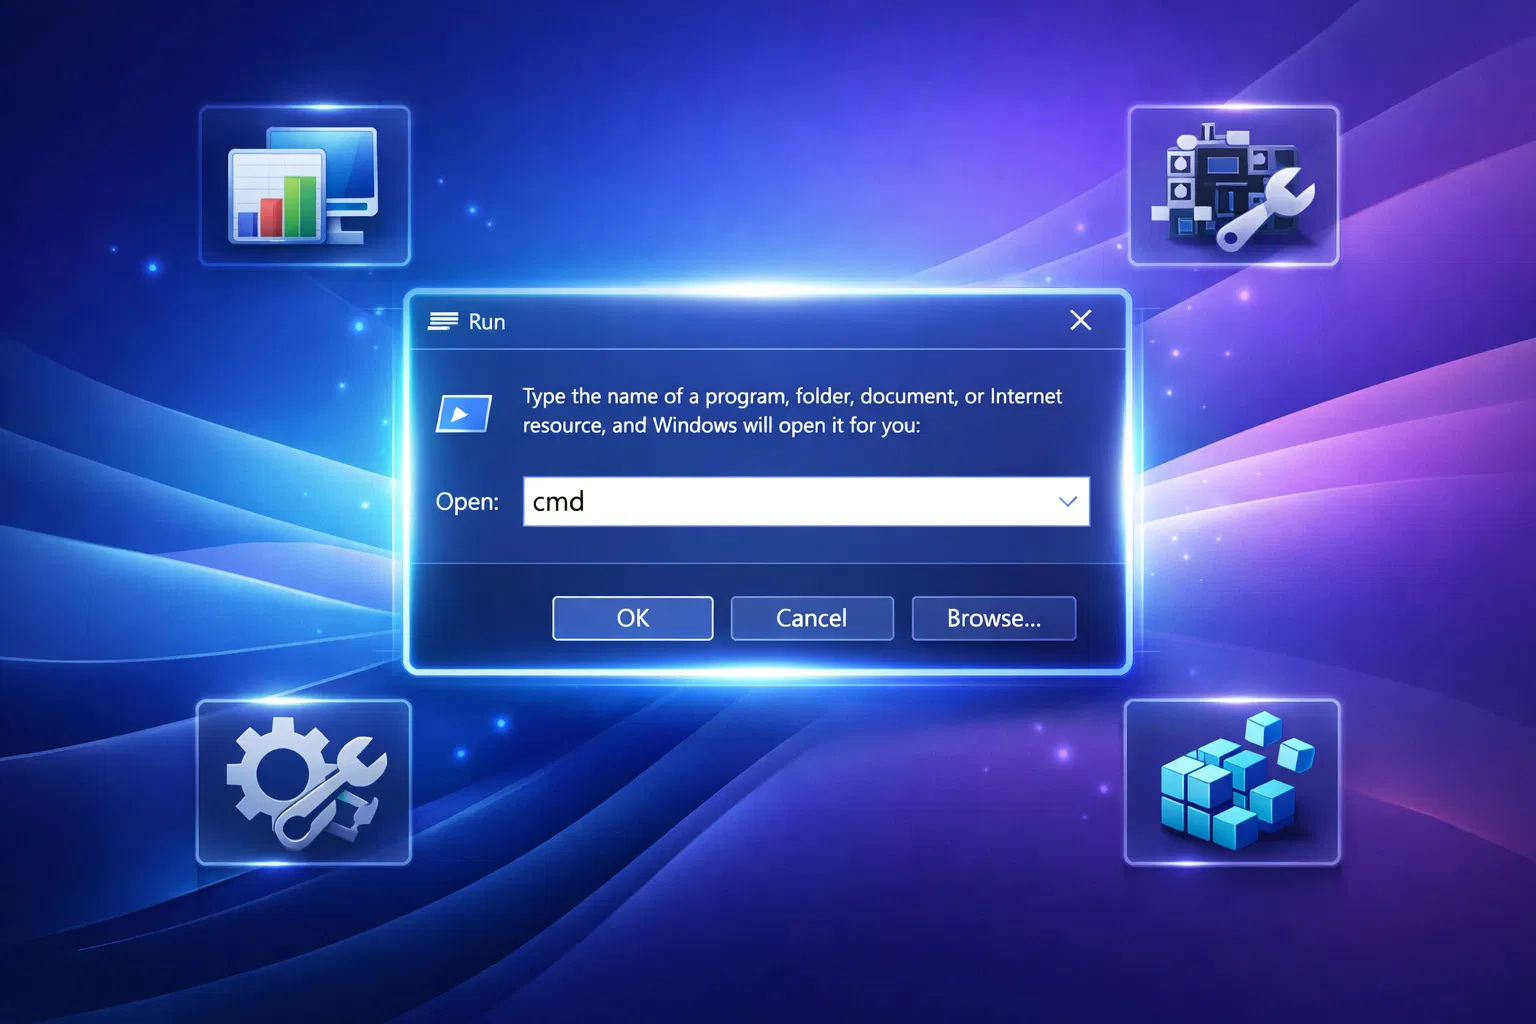
- Open Command Prompt as administrator (search for “cmd”, right-click, and select Run as administrator).
- Type:
sfc /scannow
- Press Enter and wait for the scan to complete.
Running DISM:
If SFC finds issues it cannot fix, run DISM to repair the Windows image:
- In the same elevated Command Prompt, type:
DISM /Online /Cleanup-Image /RestoreHealth
- Press Enter and wait for completion.
- Restart your PC and run SFC again if needed.
Scan for Malware and Viruses
Malware can significantly degrade system performance, including startup speed.
Recommended Steps:
- Use Windows Security (formerly Windows Defender):
- Open Settings > Privacy & Security > Windows Security > Virus & threat protection.
- Click Quick scan or Full scan for a thorough check.
- Consider trusted third-party tools like Malwarebytes for an additional scan.
Regular malware scans help ensure your system is clean and running optimally.
Advanced Fixes and Optimizations
Adjust Virtual Memory and Page File Settings
Virtual memory uses part of your storage as extra RAM. Incorrect settings can slow down startup and overall performance.
How to Adjust Virtual Memory:
- Open Settings > System > About.
- Click Advanced system settings on the right.
- In the System Properties window, under the Advanced tab, click Settings in the Performance section.
- Go to the Advanced tab and click Change under Virtual memory.
- Uncheck Automatically manage paging file size.
- Select your system drive (usually C:), choose Custom size, and set:
- Initial size = Recommended value shown at the bottom.
- Maximum size = 1.5 to 3 times your installed RAM (in MB).
- Click Set, then OK, and restart your PC.
Note: Properly configured virtual memory can improve system responsiveness and startup speed.
Manage Fast Startup Settings
Fast Startup can speed up boot times but may cause issues on some systems.
How to Disable and Re-enable Fast Startup:
- Open Control Panel > Power Options.
- Click Choose what the power buttons do.
- Click Change settings that are currently unavailable.
- Under Shutdown settings, toggle Turn on fast startup.
- Click Save changes and restart.
Disabling Fast Startup can resolve boot issues caused by driver or hardware conflicts. You can re-enable it later if it improves speed.
BIOS/UEFI Settings and Updates
Your PC’s BIOS/UEFI firmware controls hardware initialization during startup.
Steps to Optimize BIOS/UEFI:
- Enable Fast Boot: This option skips certain hardware checks to speed boot time.
- Update Firmware: Visit your motherboard or PC manufacturer’s website to download and install the latest BIOS/UEFI updates.
How to Access BIOS/UEFI:
- Restart your PC.
- Press the designated key during boot (often
Del,F2, orEsc). - Navigate the menus to find Fast Boot or similar options.
Caution: Be careful when updating BIOS; follow manufacturer instructions precisely.
Clean Temporary Files and Optimize Storage
Accumulated temporary files and fragmented storage can slow startup.
Using Disk Cleanup:
- Search for Disk Cleanup and open it.
- Select your system drive (C:).
- Check categories like Temporary files, Recycle Bin, and Thumbnails.
- Click Clean up system files, select additional categories, and confirm.
Using Storage Sense:
- Open Settings > System > Storage.
- Turn on Storage Sense to automate cleanup of unnecessary files.
Regular cleanup frees disk space and improves performance.
Diagnosing Startup Performance Issues
Using Task Manager and Startup Impact Analysis
Task Manager helps identify which programs slow startup.
- Open Task Manager (
Ctrl + Shift + Esc). - Go to the Startup tab.
- Look at the Startup impact column.
- Disable or delay high-impact apps you don’t need immediately.
This targeted approach reduces boot load.
Monitoring with Performance Monitor and Event Viewer
For advanced users, Windows offers diagnostic tools:
- Performance Monitor tracks system metrics during startup.
- Open Run (
Win + R), typeperfmon, and press Enter. - Create a custom Data Collector Set to monitor boot performance.
- Event Viewer logs detailed startup events.
- Open Run, type
eventvwr, and press Enter. - Navigate to Windows Logs > System, and filter for boot-related events.
These tools help identify hardware or software bottlenecks.
Creating a Troubleshooting Flowchart
A flowchart guides you through fixes based on symptoms:
- Start with basic checks (startup programs, updates).
- If unresolved, run system scans (SFC, DISM).
- Check hardware health and BIOS settings.
- Consider hardware upgrades if performance lags persist.
Using a flowchart improves problem-solving efficiency and ensures no step is missed.
Hardware Considerations
SSD vs HDD Impact on Startup Speed
The type of storage device dramatically affects boot times:
- SSD (Solid-State Drive): Uses flash memory, providing near-instant access to data. Boot times can be as low as 10–15 seconds.
- HDD (Hard Disk Drive): Mechanical parts cause slower read/write speeds, often leading to boot times of 30 seconds or more.
Upgrading from an HDD to an SSD is one of the most effective ways to fix Windows 11 slow startup issues.
RAM and CPU Recommendations
Insufficient RAM or older CPUs can bottleneck startup:
- RAM: Windows 11 requires at least 4 GB, but 8 GB or more is recommended for smooth operation.
- CPU: A modern multi-core processor (1 GHz or faster, 64-bit compatible) is essential.
If your hardware falls below these specs, startup and overall performance will suffer.
When to Consider Hardware Upgrades
Signs that hardware upgrades may be necessary:
- Persistent slow startups despite software fixes.
- Frequent system freezes or crashes.
- Inability to run basic applications smoothly.
Prioritize upgrading to an SSD, increasing RAM, or replacing an outdated CPU for the best startup improvements.
Preventative Maintenance Tips
Regular System Updates and Maintenance
Keep your system healthy by:
- Installing Windows and driver updates promptly.
- Running Disk Cleanup or Storage Sense regularly.
- Performing malware scans monthly.
Routine maintenance prevents slowdowns and keeps startup fast.
Best Practices to Keep Startup Fast
Adopt these habits:
- Limit startup programs to essentials.
- Avoid installing unnecessary software.
- Monitor system health using Task Manager.
- Restart your PC regularly to clear temporary issues.
These simple steps help maintain optimal startup speed over time.
Conclusion
Slow startup on Windows 11 can be a major productivity roadblock, but with a systematic approach, it’s usually fixable. Start by disabling unnecessary startup programs, updating Windows and drivers, and running system repair tools like SFC and DISM. For more stubborn issues, adjust virtual memory, manage Fast Startup settings, optimize BIOS/UEFI, and clean temporary files.
Use diagnostic tools like Task Manager, Performance Monitor, and Event Viewer to analyze boot performance and identify bottlenecks. Don’t overlook hardware factors—upgrading to an SSD and ensuring sufficient RAM and CPU power can yield the biggest improvements.
By following this comprehensive guide on how to fix Windows 11 slow startup, you can restore your PC’s speed and enjoy a smoother computing experience. If you found this article helpful, please share it with others struggling with slow boot times, and explore more Windows 11 performance tips on tonkonwslist.com to keep your system running at its best.